Create and Launch an Event
Last updated Feb 10, 2026
This step-by-step guide walks you through creating and launching an event from scratch in KAYAK for Business.
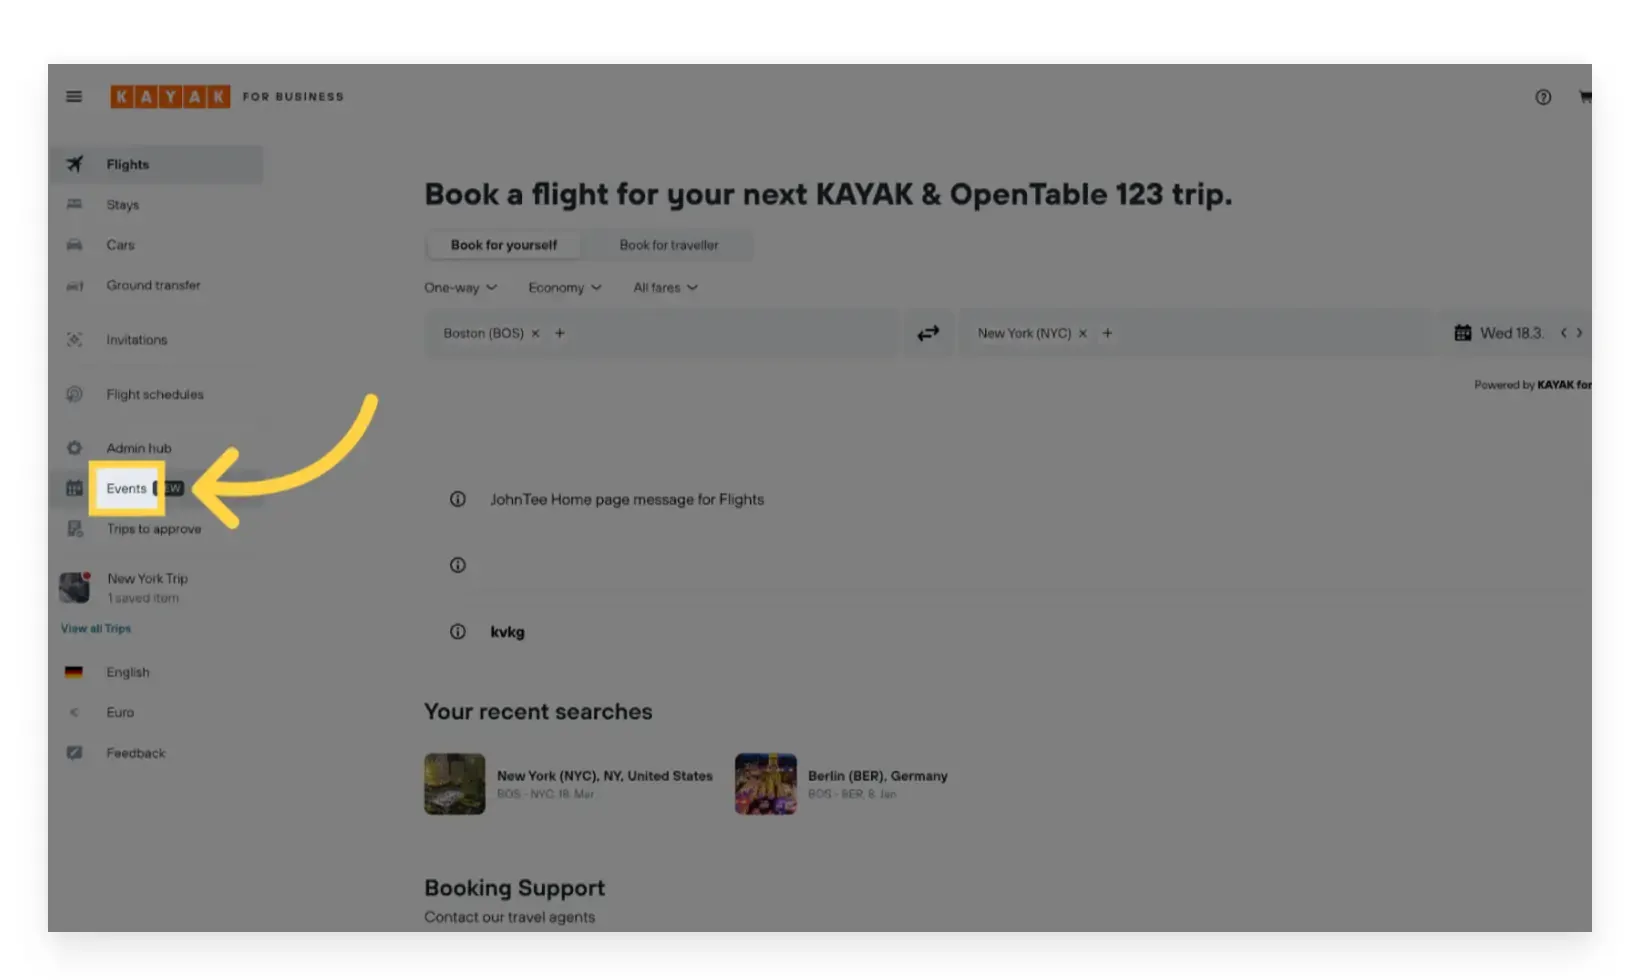
1. Access the Events Tab
Click on the Events tab in the left navigation panel.
Note: If you do not see the Events tab, you likely do not have the necessary permissions. Please contact your company admin to request access. For detailed instructions, refer to the tutorial on assigning event permissions.
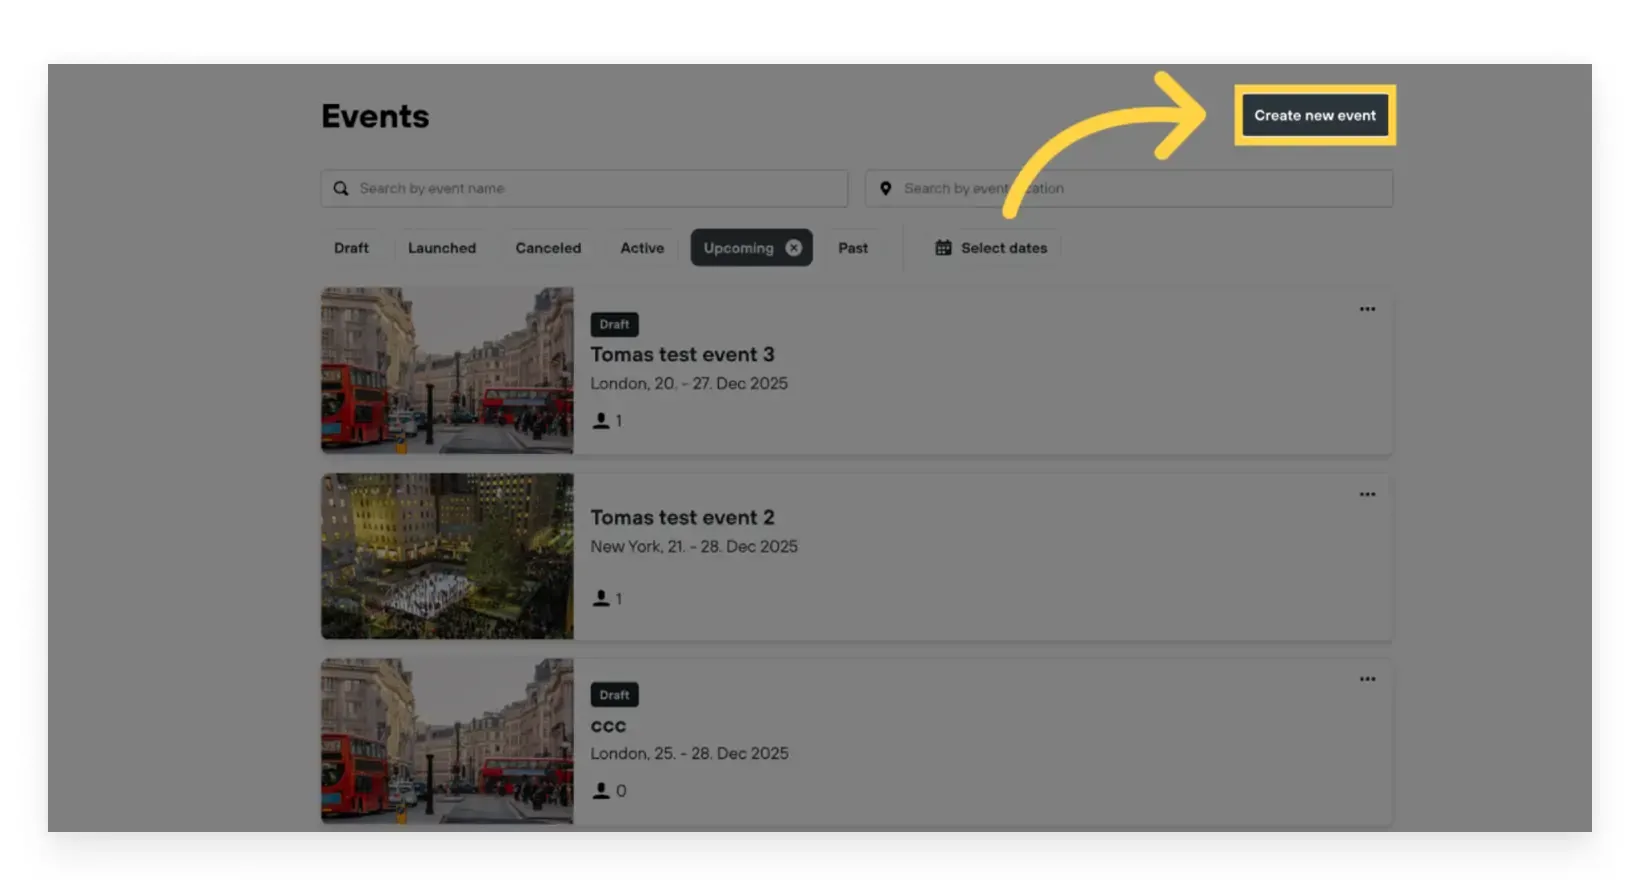
2. Click “Create Event”
Select the Create Event button to start setting up a new event.
Enter Event Details
A modal will appear prompting you to enter key event information:
- Event Name
- Location
- Start and End Dates
- RSVP Deadline
- Booking Deadline
After filling in all required fields, click Save.
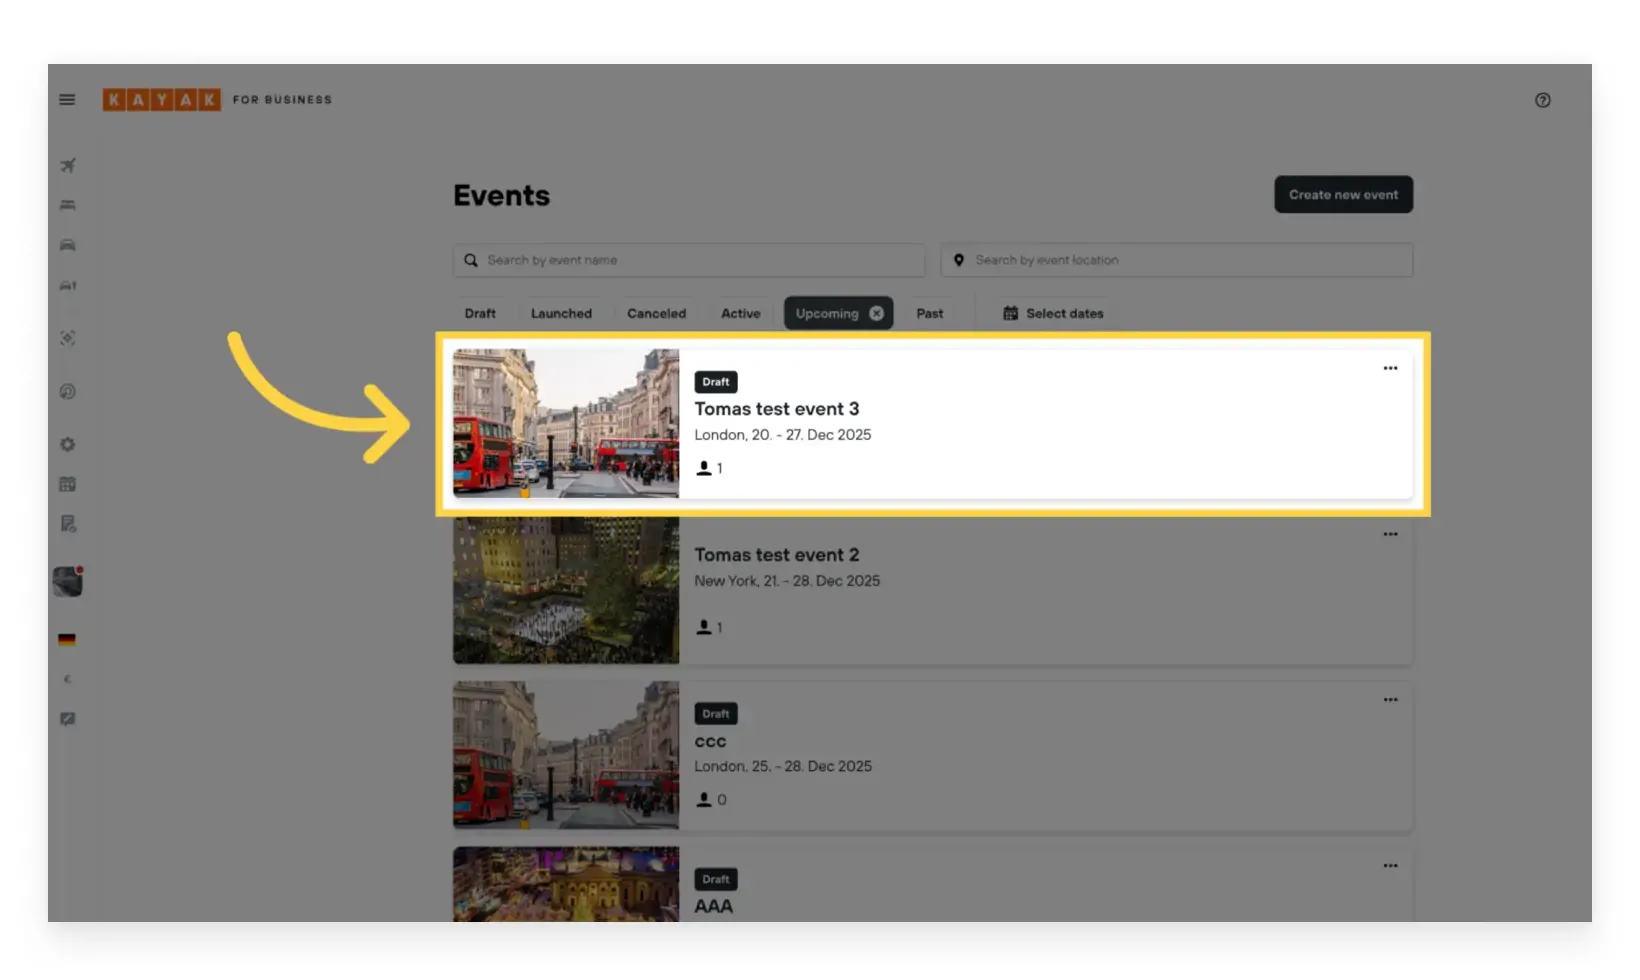
3. Open the Newly Created Event
Once the event is created, locate it in your events list and click to open the event details page.
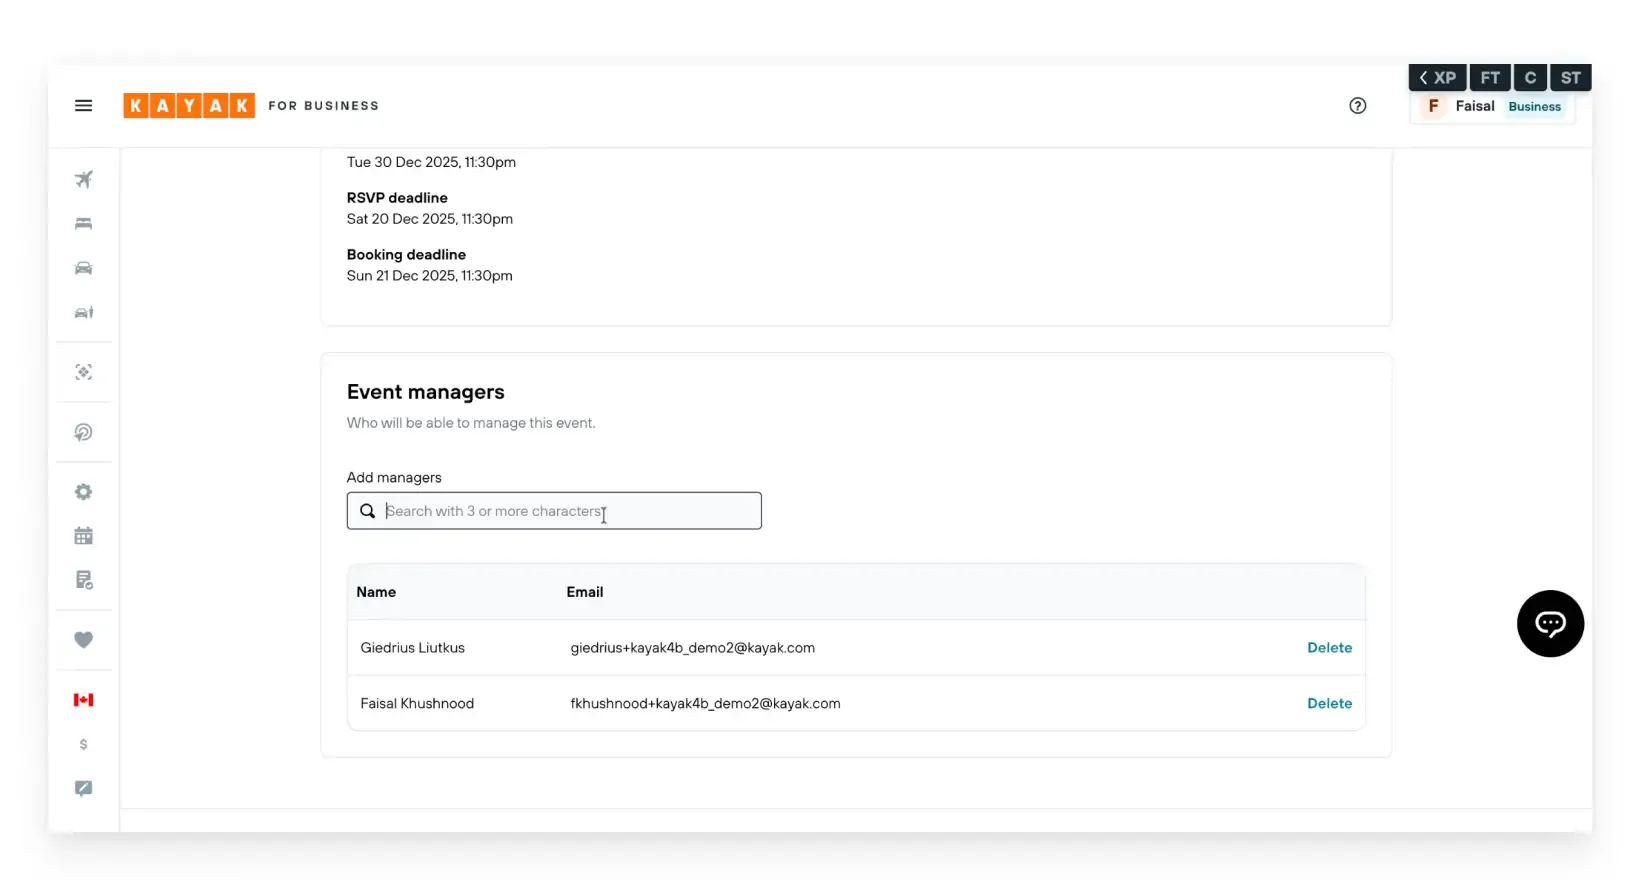
4. Add an Event Manager (Optional)
You can assign an Event Manager who will have permission to view and edit this event only. This can be any user in your company, regardless of their existing role (e.g., traveler, travel arranger). Assigning an Event Manager via this option grants them event-specific management rights.
5. Go to the Travel Permissions Tab
Navigate to the Travel Permissions tab. This section is essential for configuring which travel policies and payment methods will apply to event attendees. You can also set the default arrival and departure dates for flight bookings here.
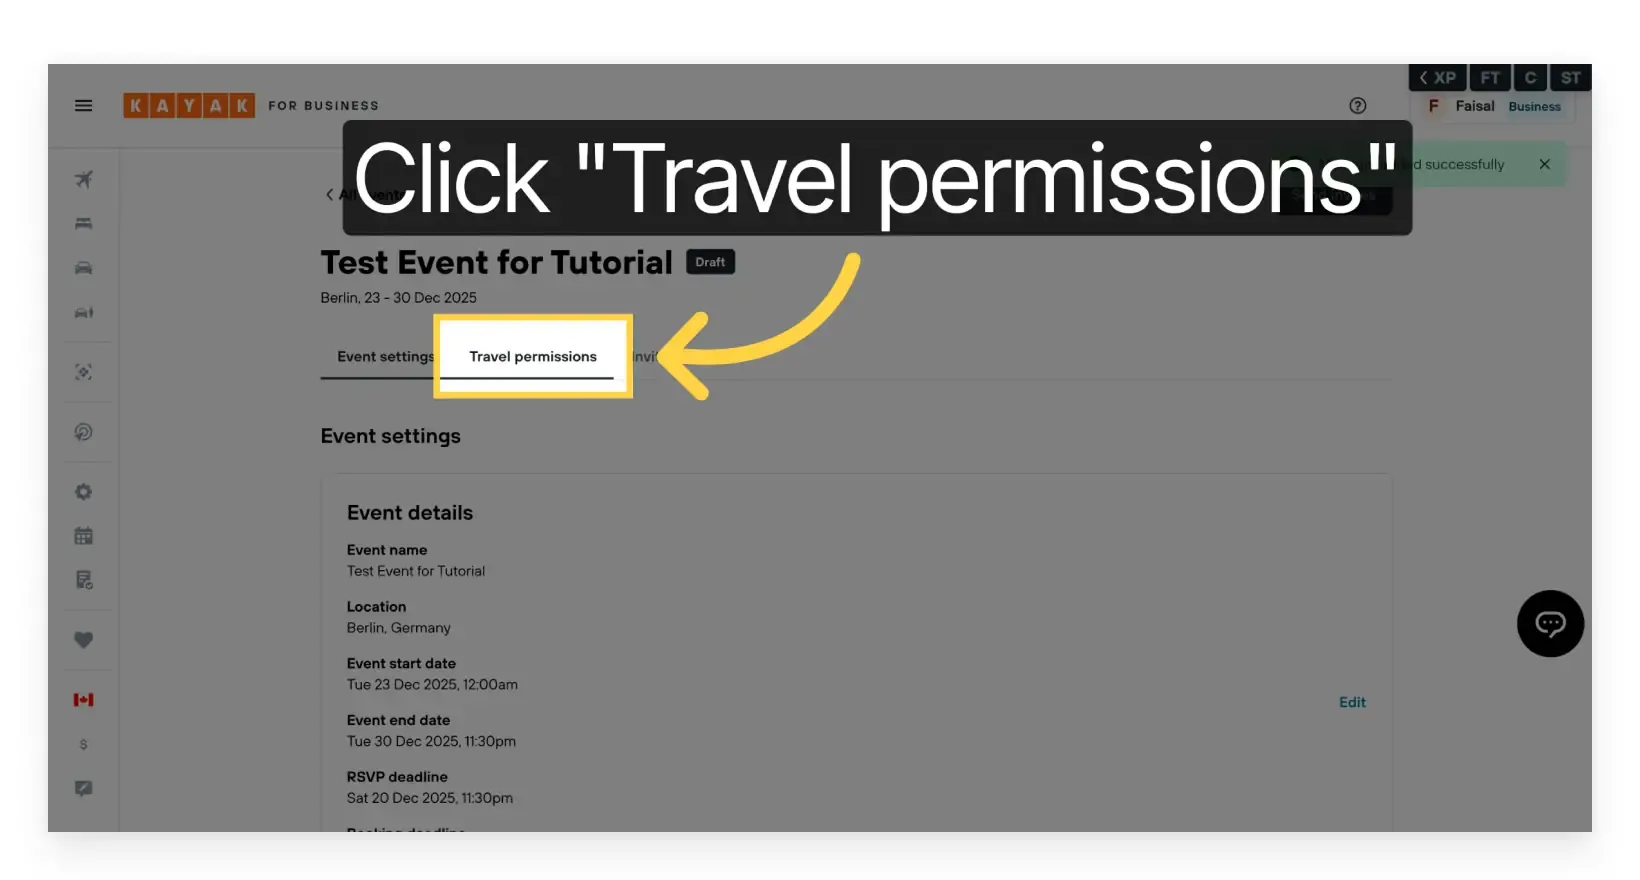
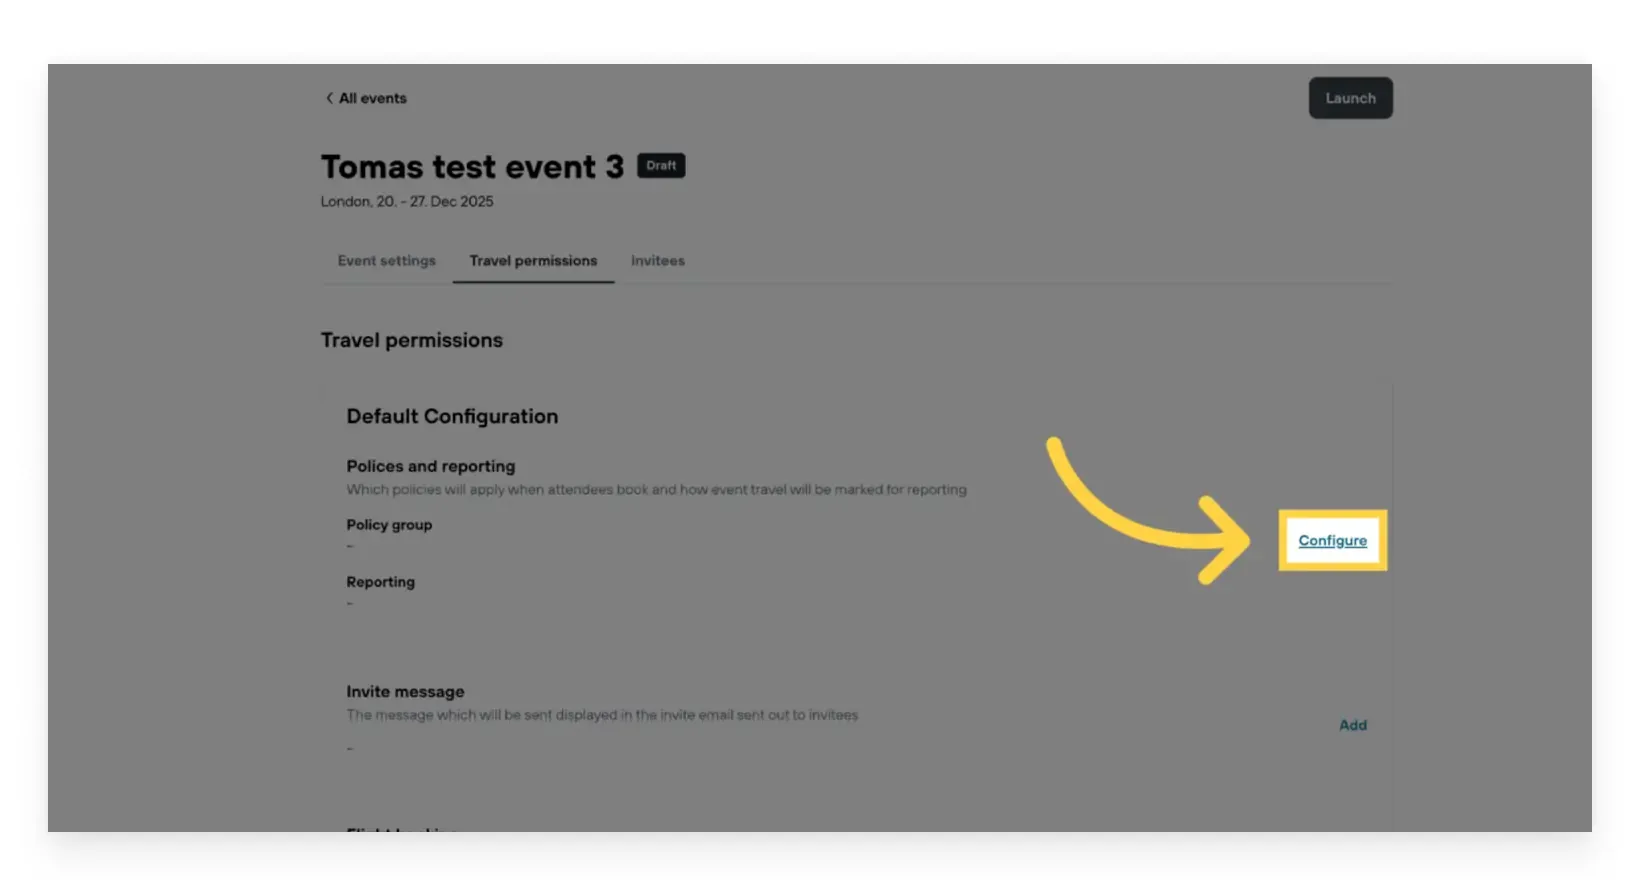
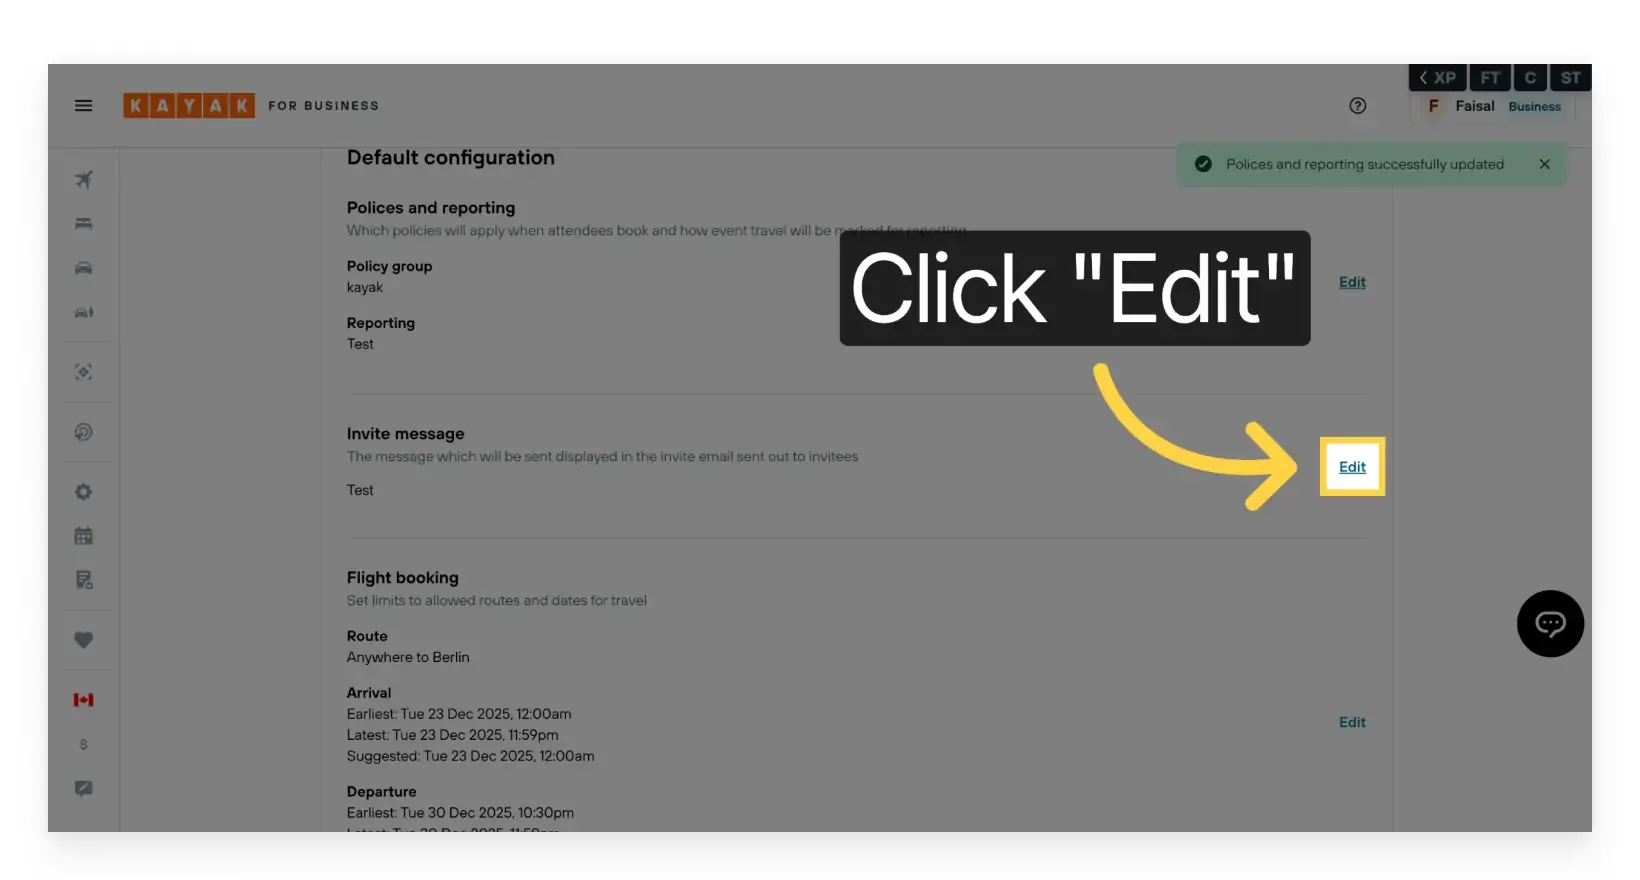
6. Edit Default Configuration
Under the Default Configuration section, click Edit to modify event travel settings.
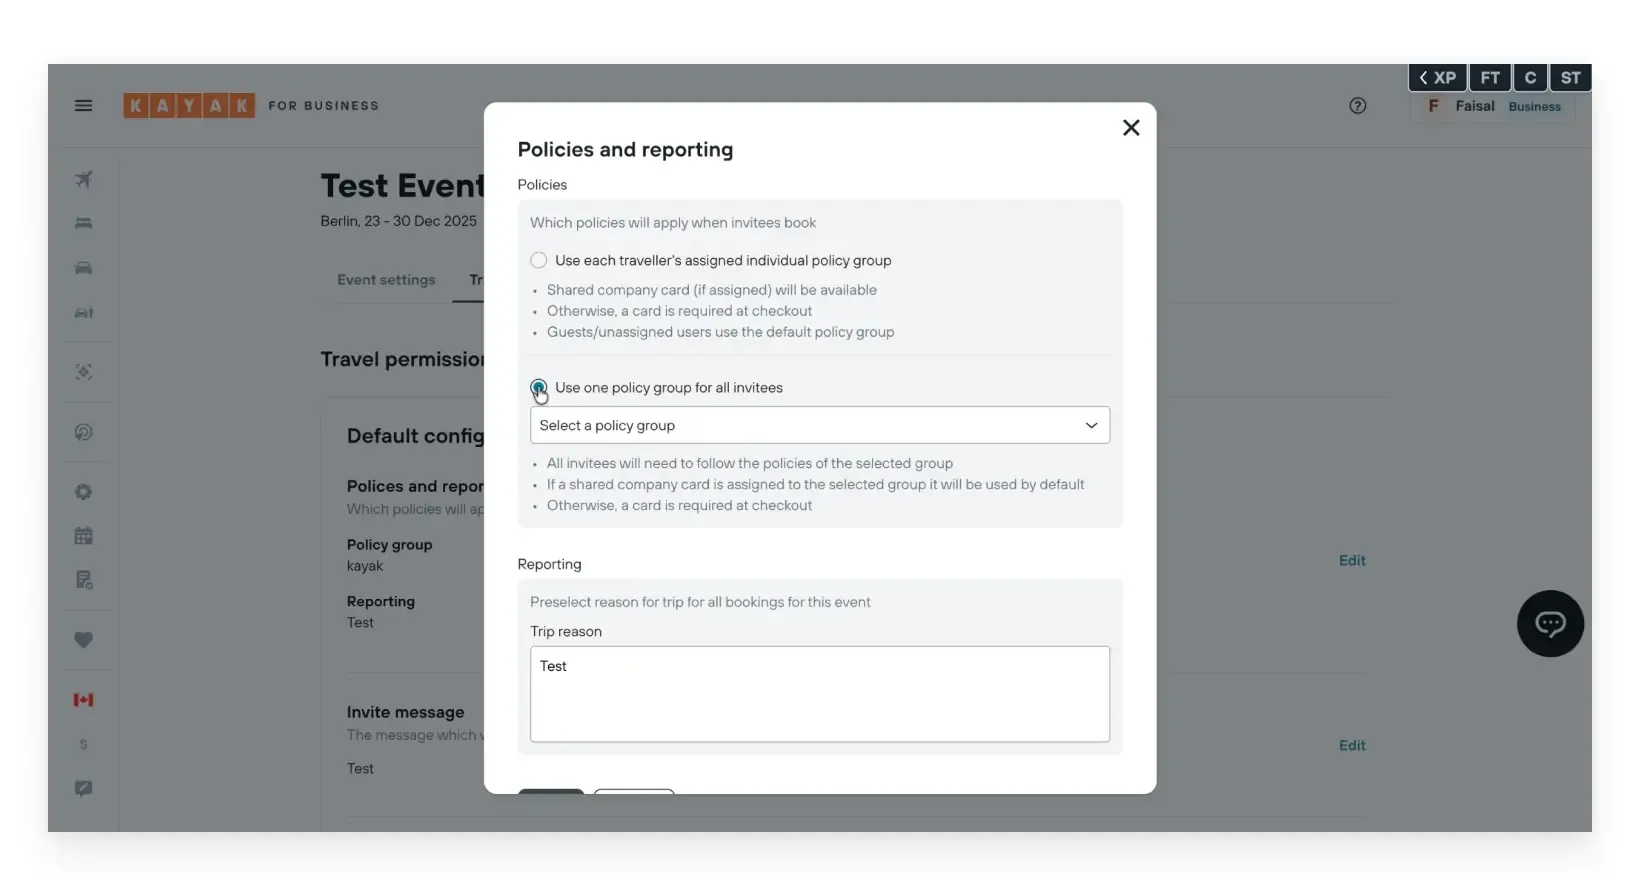
7. Select the Event Policy
You have two policy options for attendee travel:
Traveler’s Individual Policy
Each attendee books flights according to their own travel policy and payment method. For example, if one traveler has a $100 flight budget and another has $200, each will see search results and payment options based on their individual policy.
Group Policy
This option overrides individual policies with a single group policy for the event. For example, if you set a $500 flight budget and assign a company card, all attendees will have the same budget and payment method, regardless of their personal settings.
Select the policy that best fits your event needs.
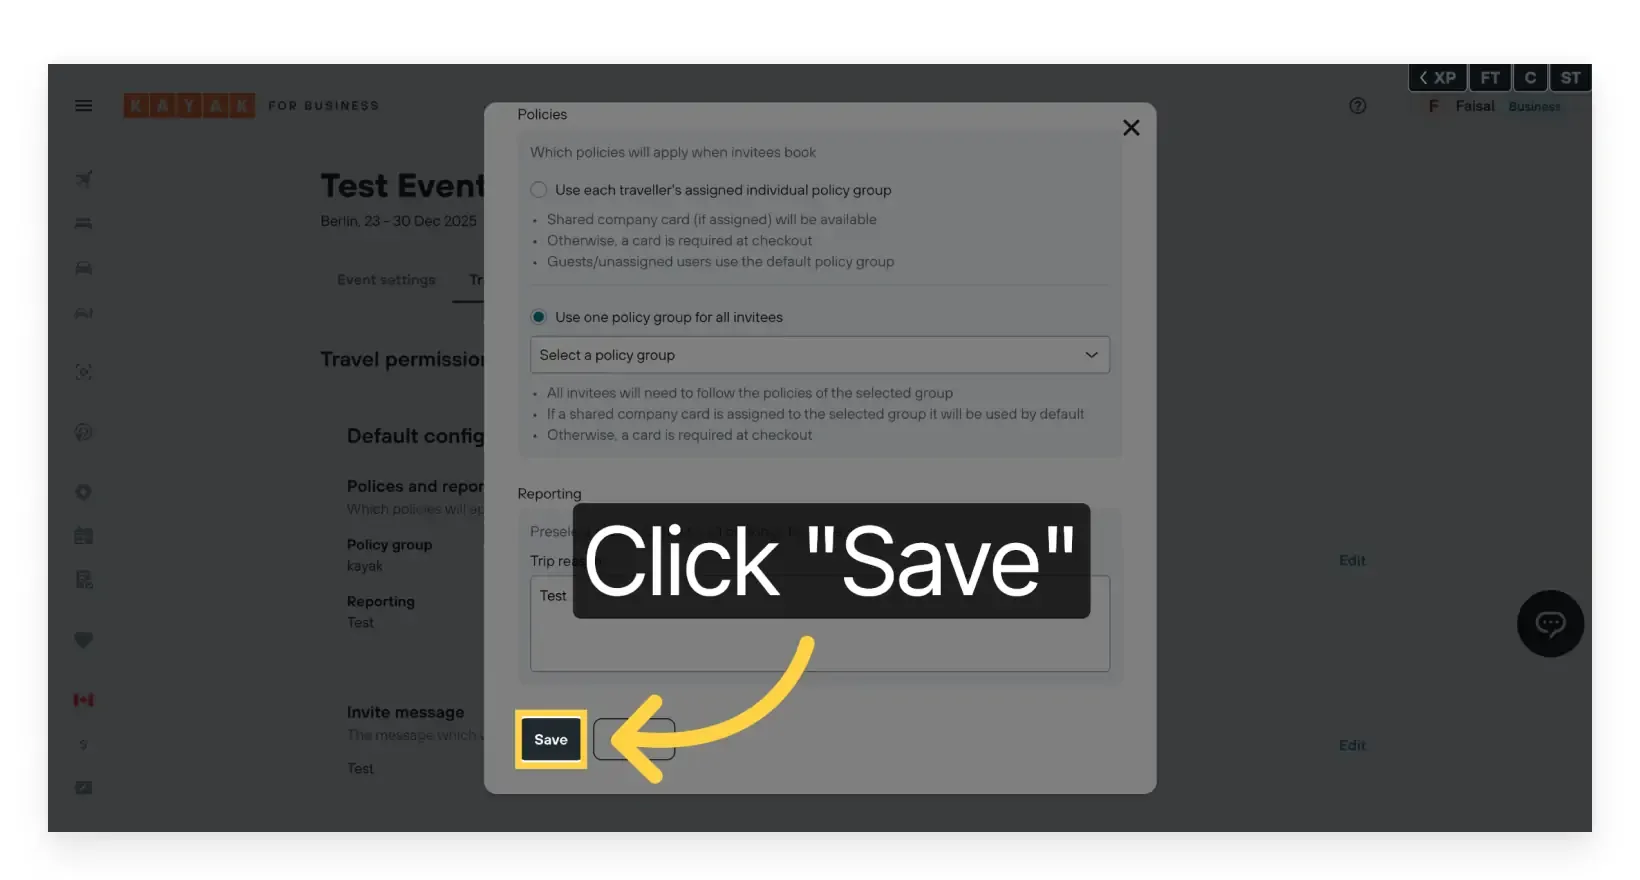
8. Save the Policy
Click Save to apply your selected policy to the event.
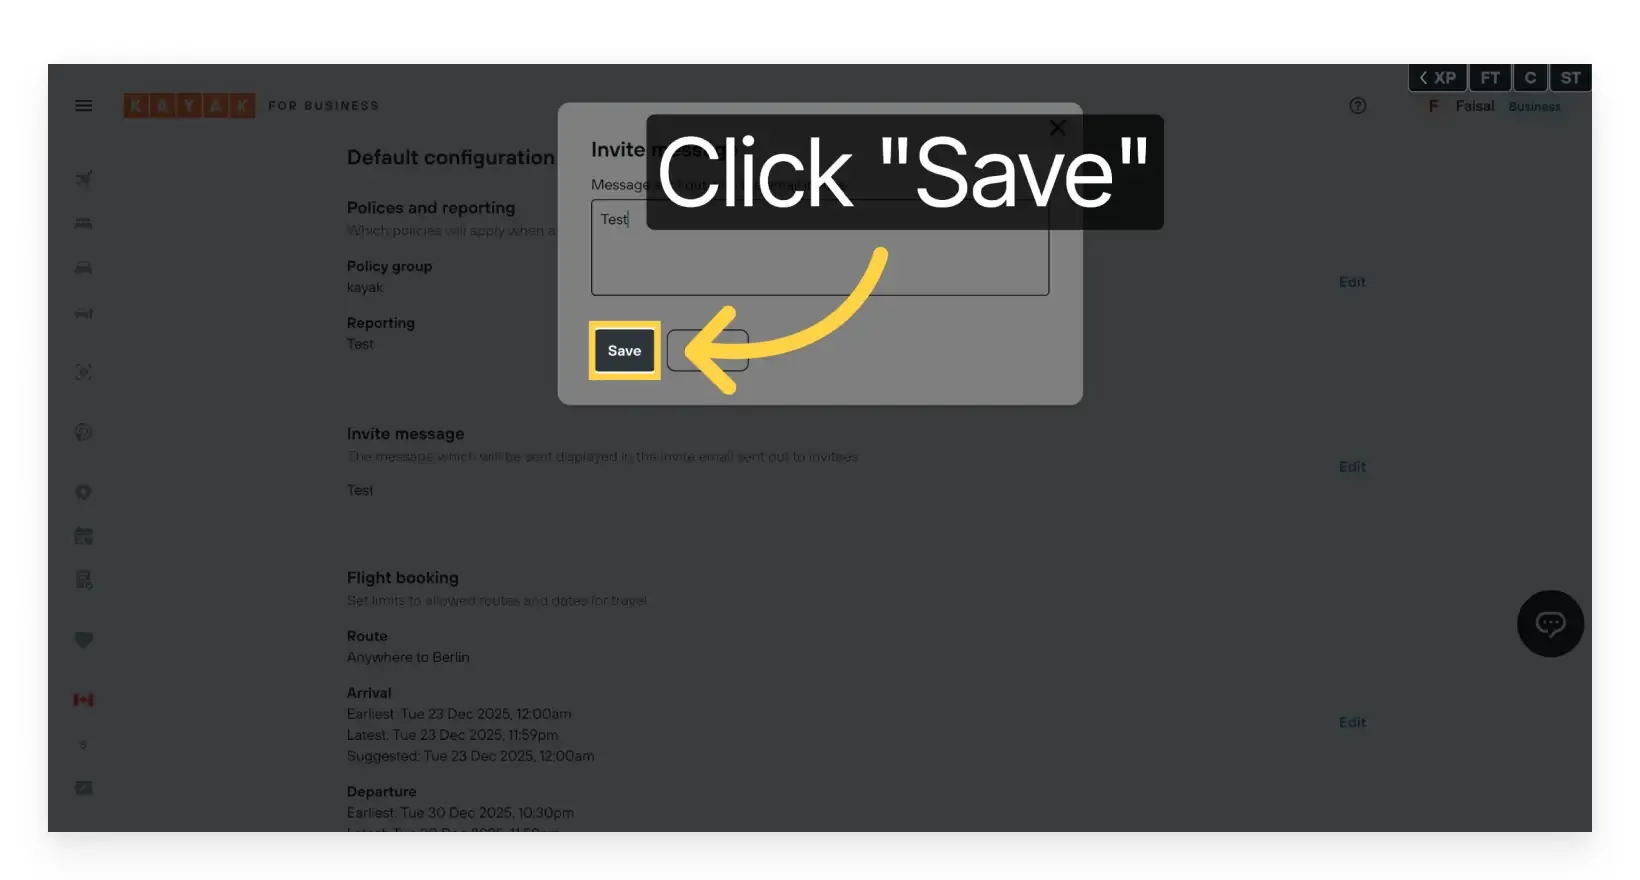
9. Add an Invite Message
Click Add to write an invite message for attendees
10. Add & Save Invite Message
Compose an invite message that all attendees will receive. Include as much detail as possible to minimize questions and ensure clear communication.
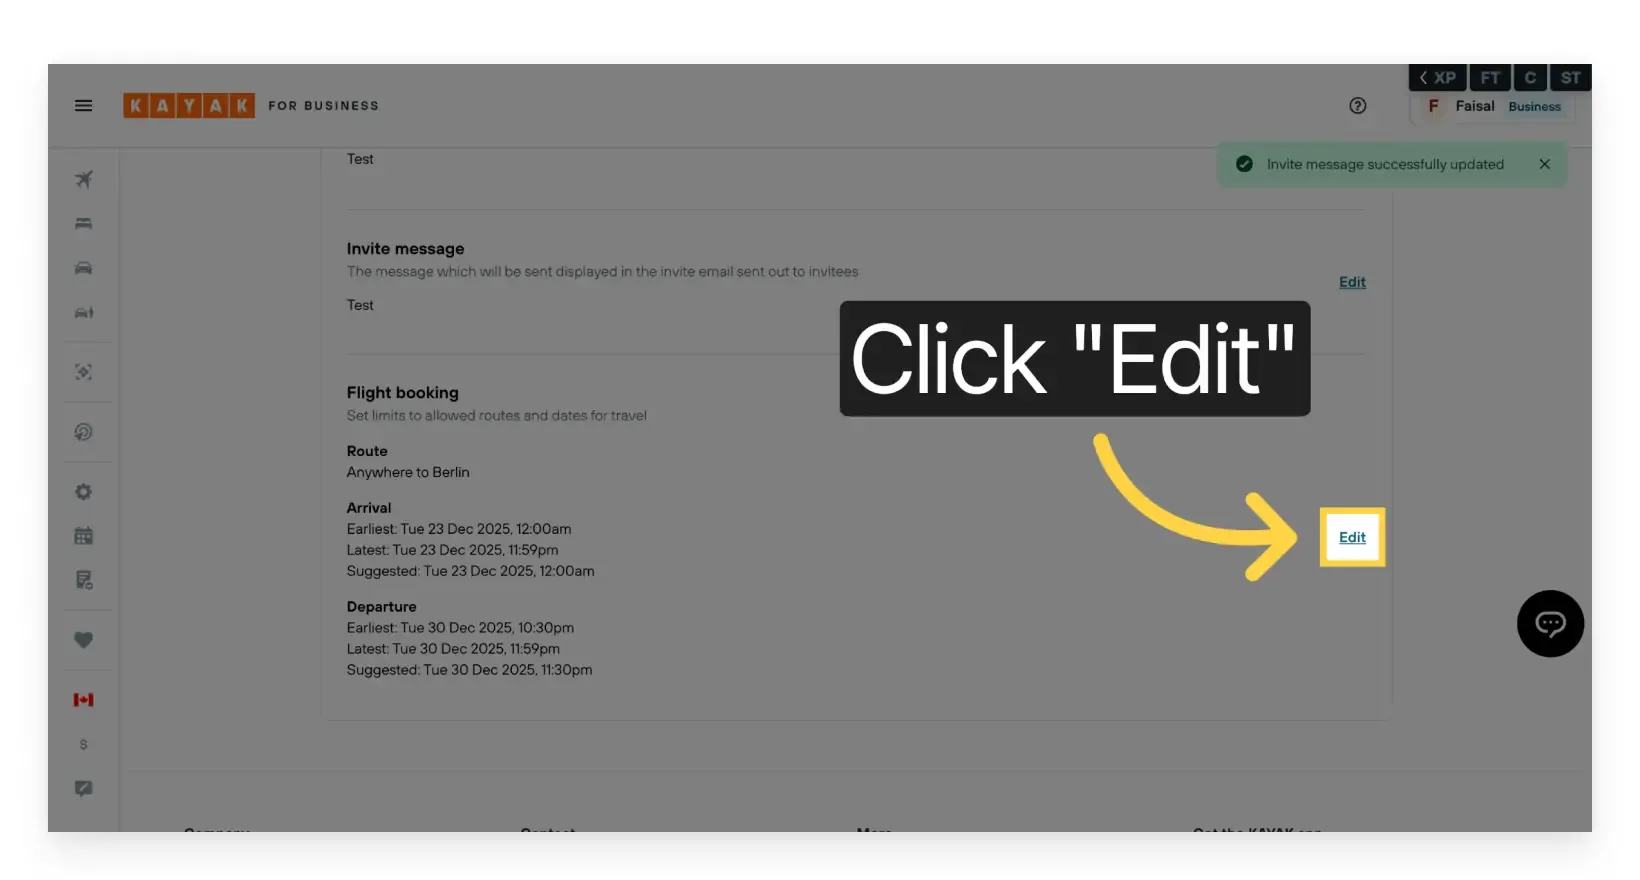
11. Edit Flight Booking Dates
Under the Flight Booking section, click Edit to set or adjust the arrival and departure dates and times for the event.
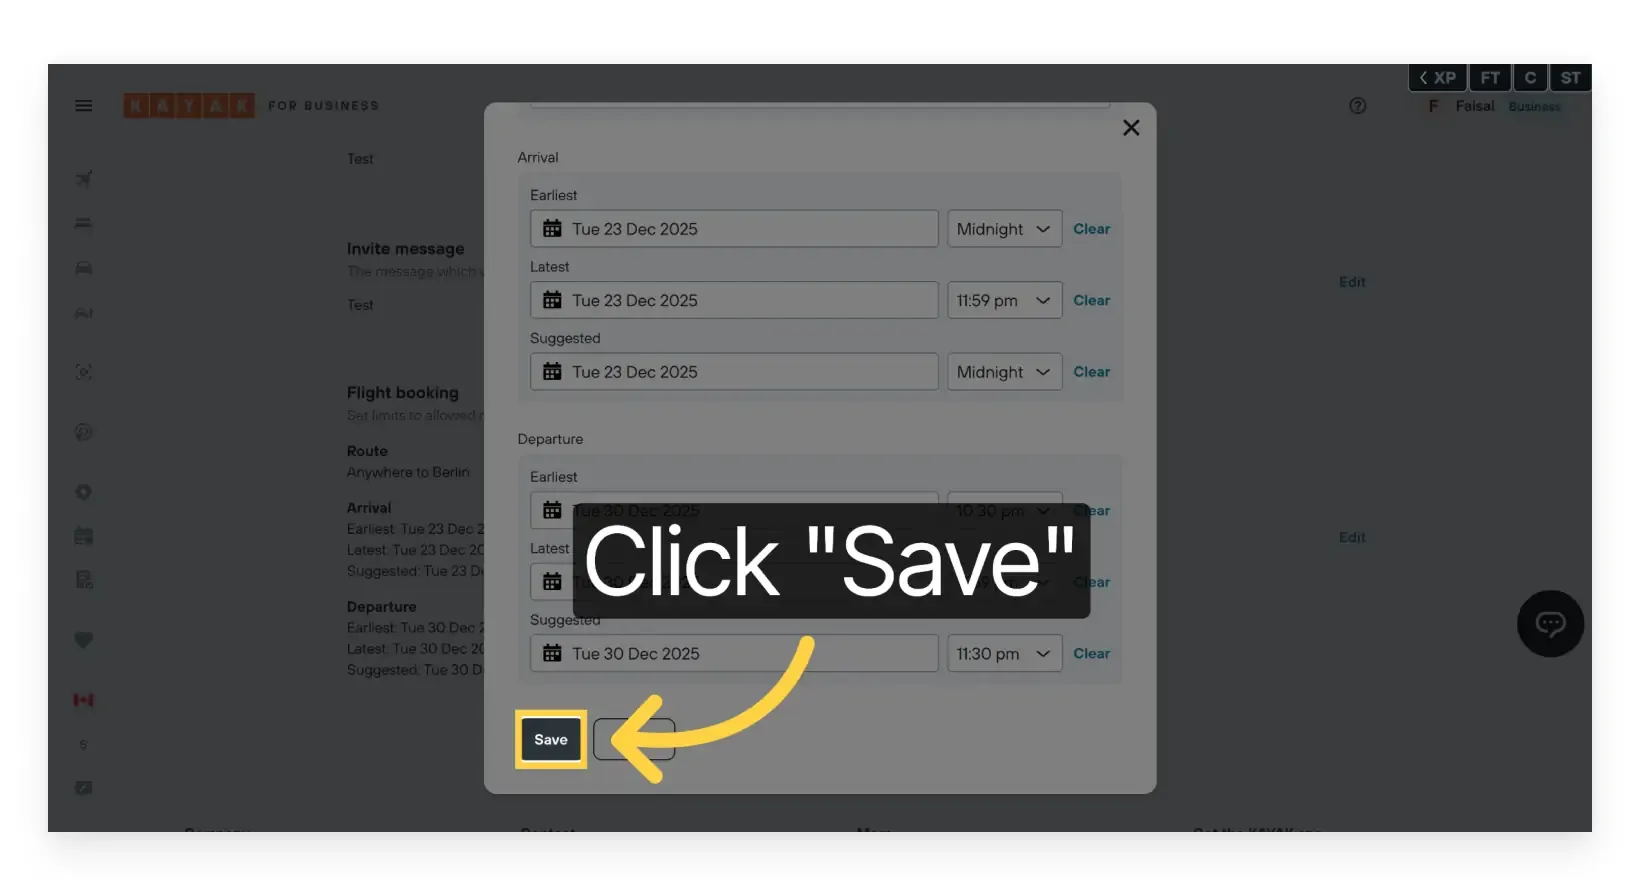
12. Select Arrival and Departure Dates
In the modal, choose the appropriate arrival and departure dates and times for your attendees.
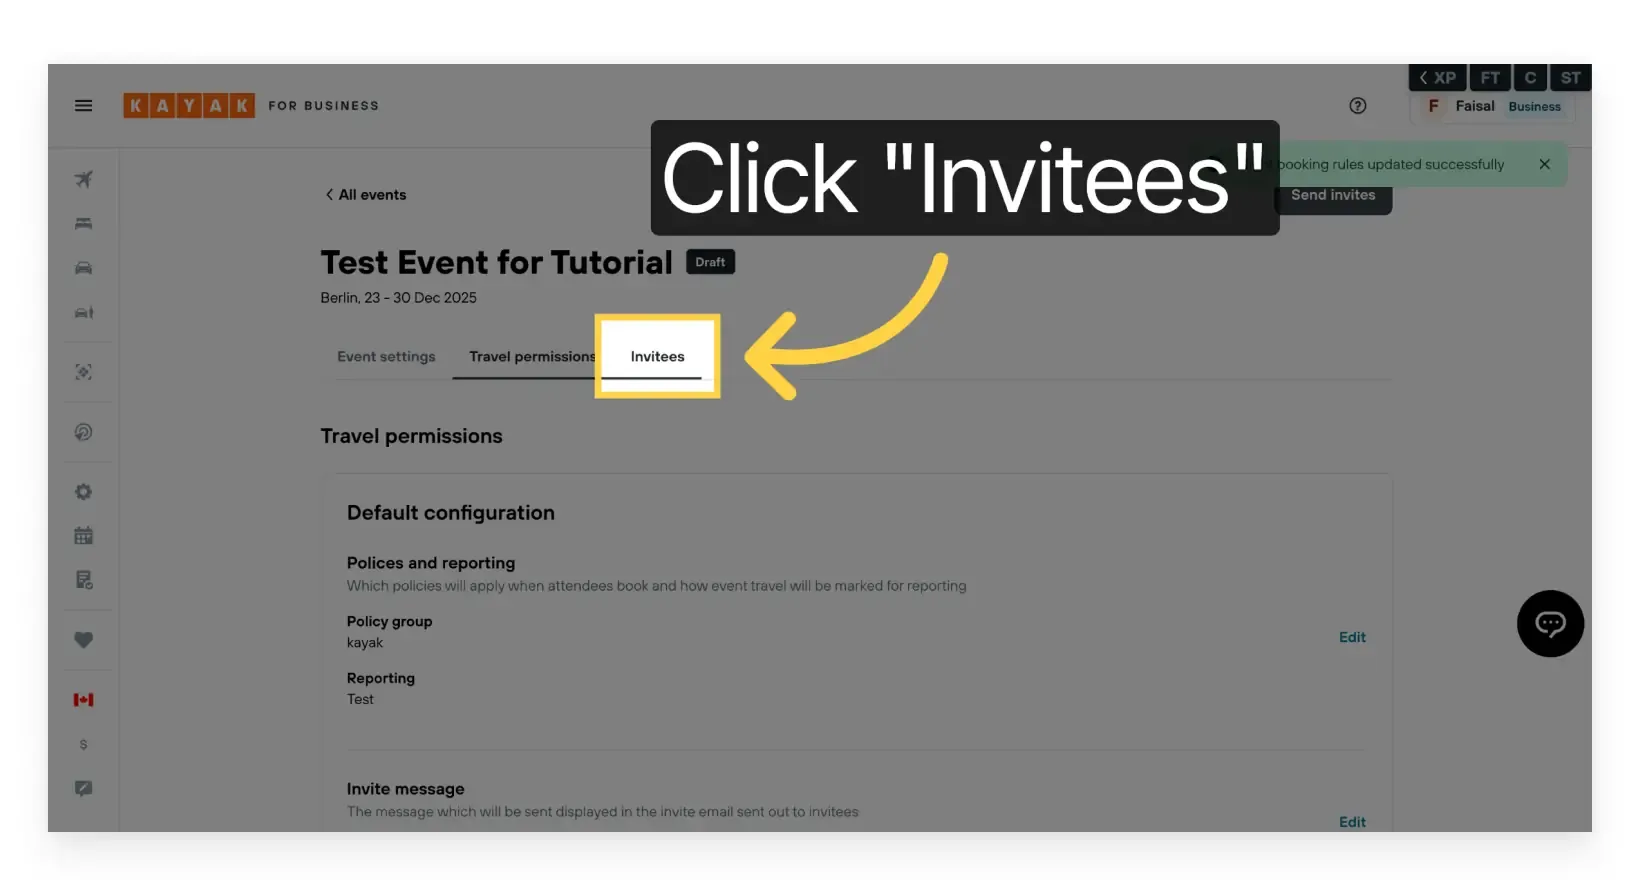
13. Click Invitees
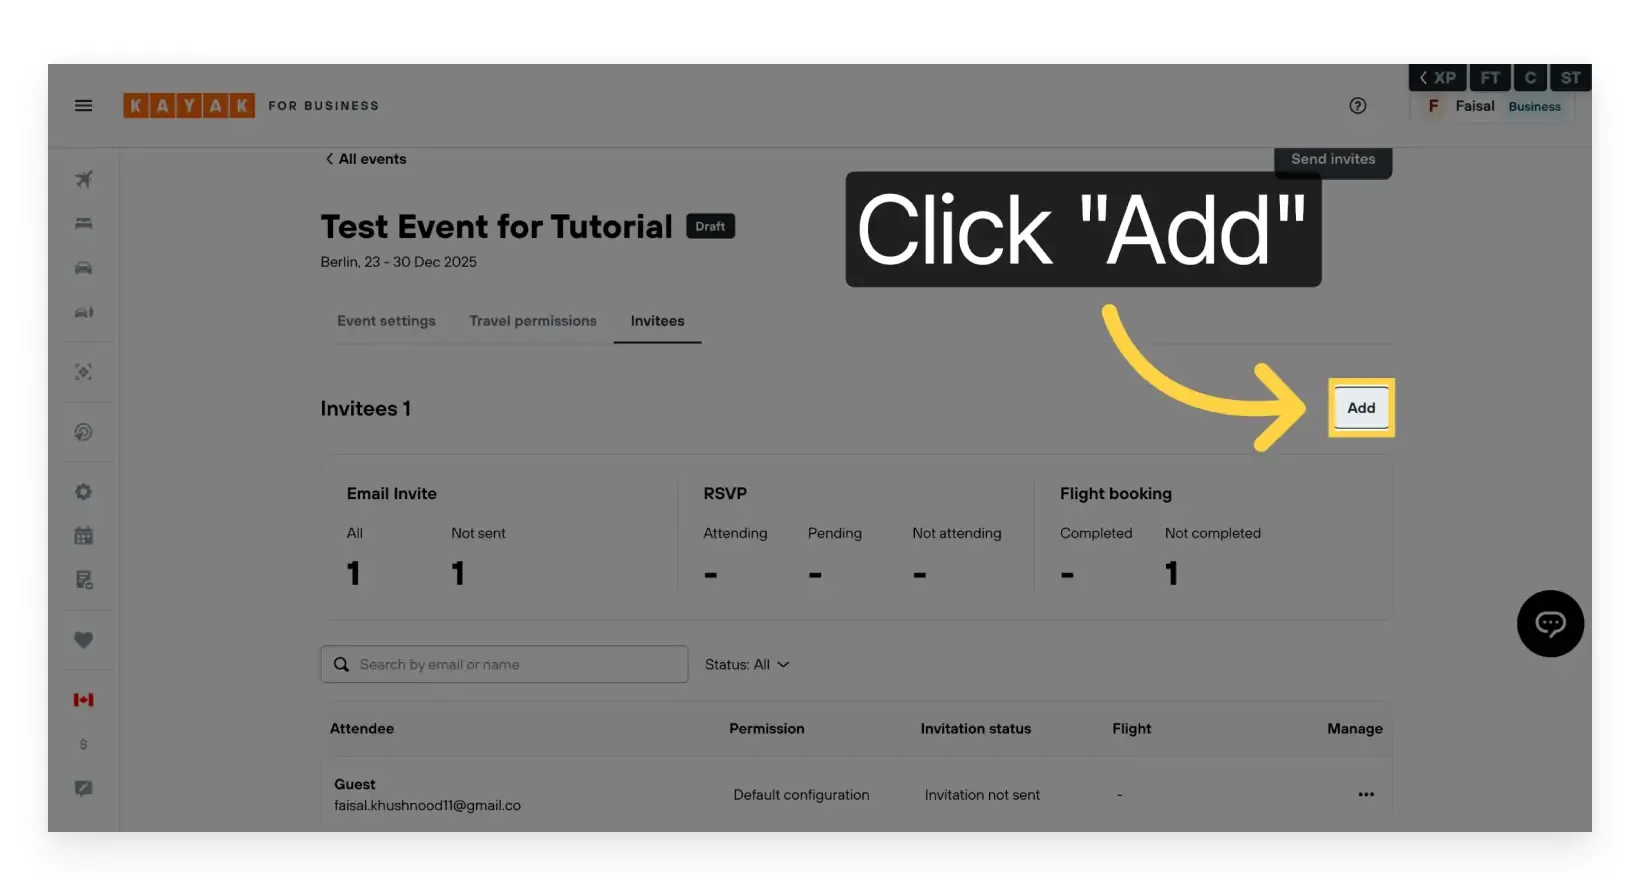
14. Click Add
Click Add to open the dialog for adding event attendees.
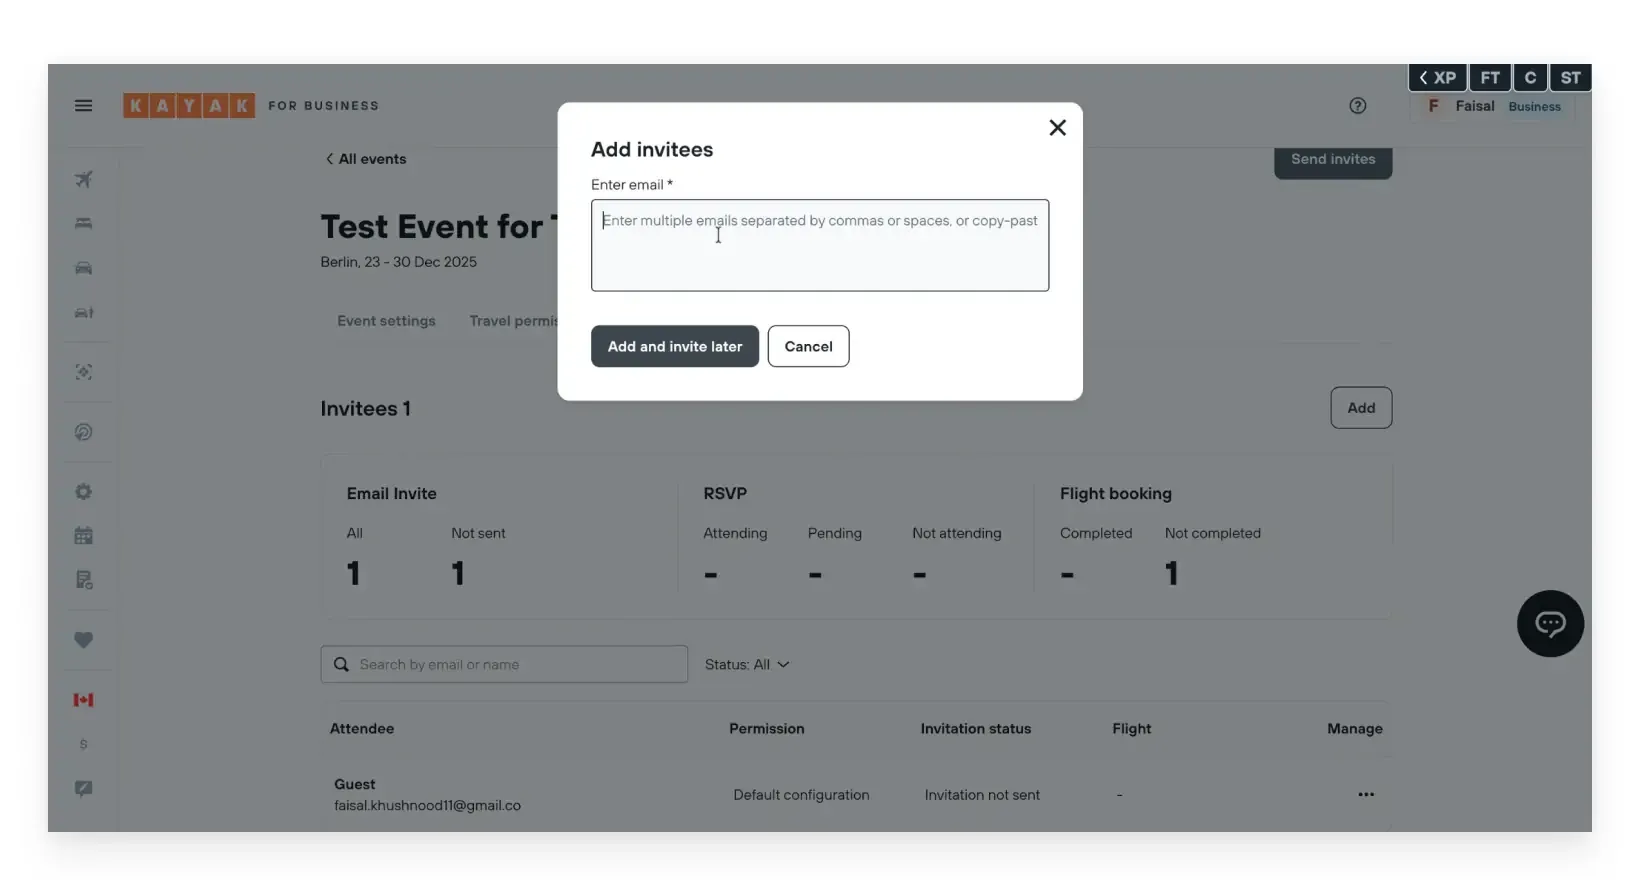
15. Enter Attendee Email Addresses
Input the email addresses of all attendees, either manually or by copying and pasting from a list.
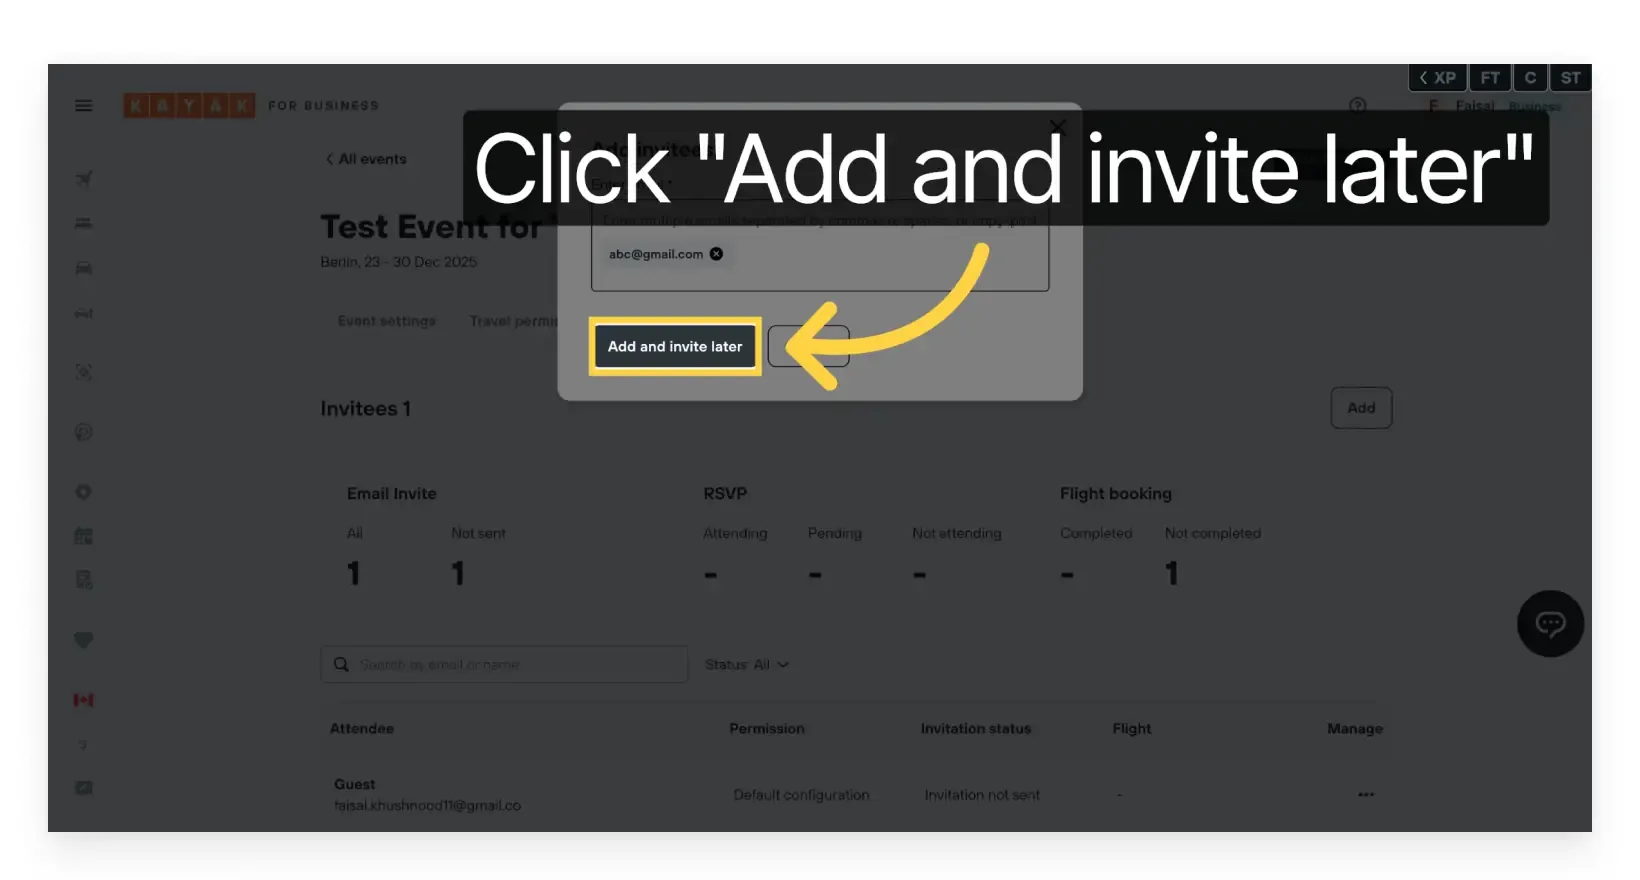
16. Add and Invite Later
Click Add and Invite Later to add attendees to the event without immediately sending invitations. This allows you to review and finalize details before launching the event.
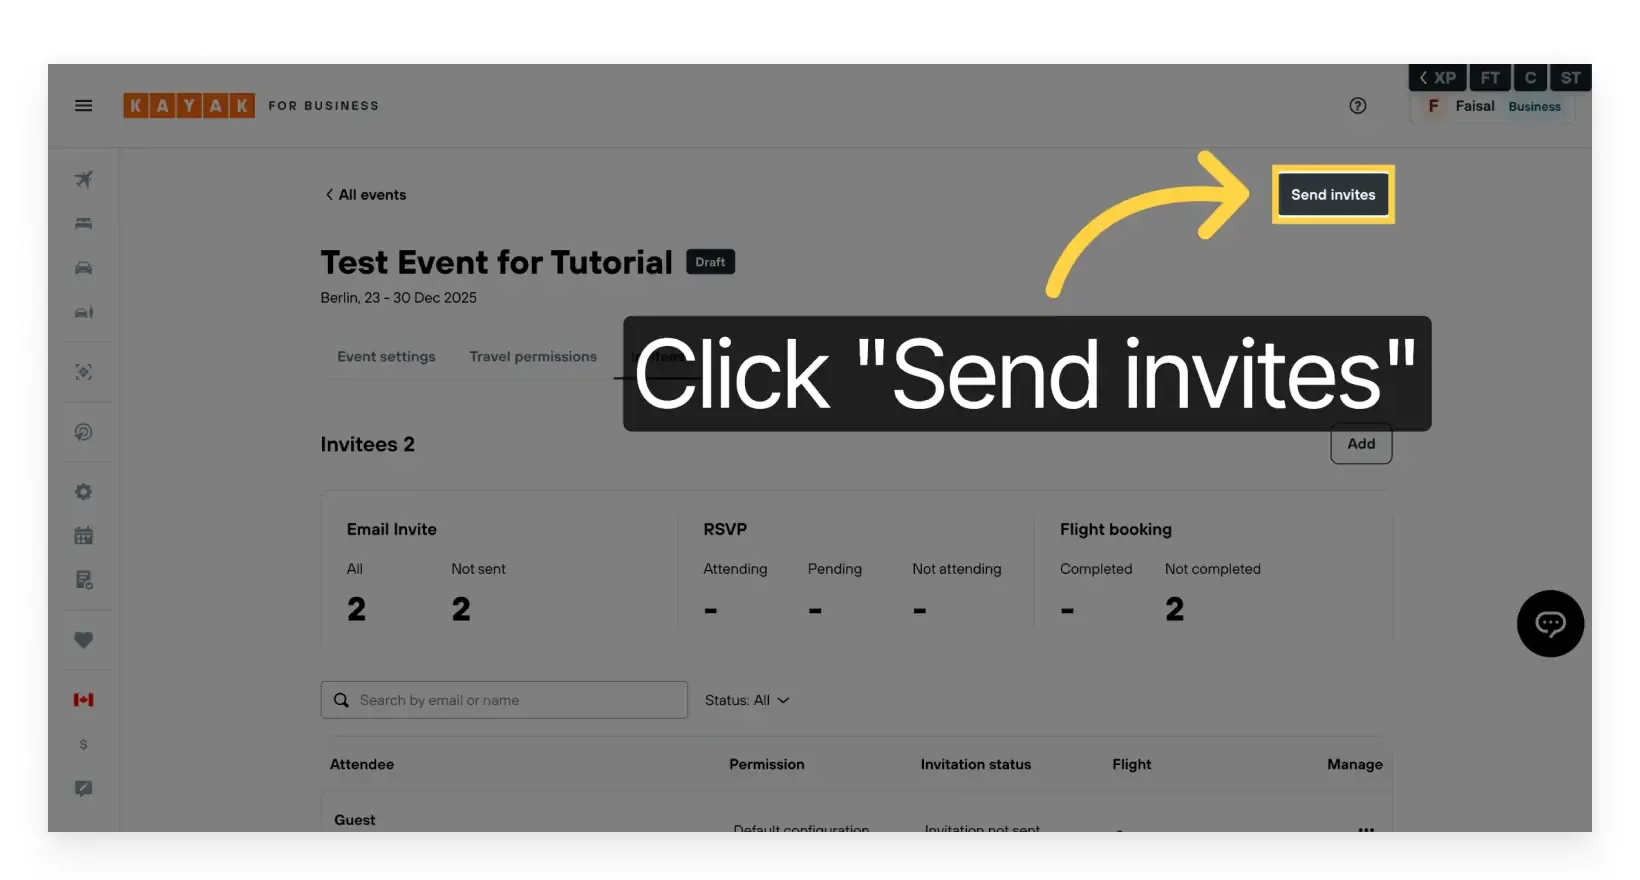
17. Send Invitations
When you are ready to launch the event, click Send Invite. All attendees will receive an email with the invite message, event name, location, and travel details.
Note: After clicking Send Invite, it may take a few minutes or longer to send all invitations. During this time, you will not be able to make modifications to the event.
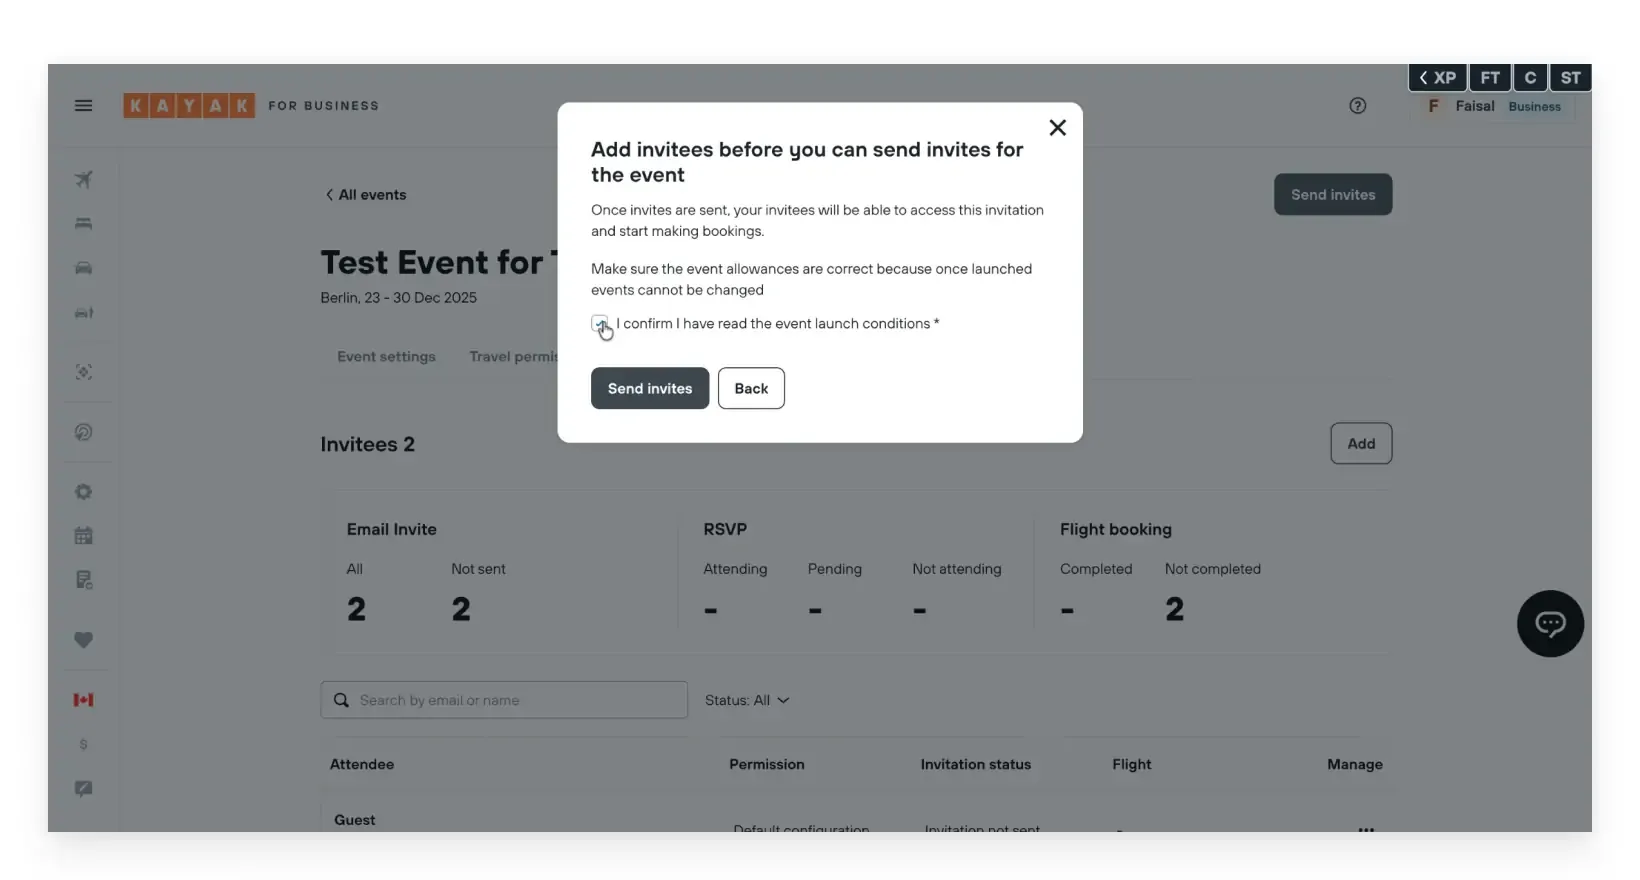
18. Acknowledge Confirmation
Read and accept the conditions, then click Send Invite.
Important Notes
- Once the event is launched (after sending invites), you cannot change the event policy.
- You can continue to add new attendees after the event is launched.
Learn more about the additional features and settings available in KAYAK for Business.