

KAYAK for Business Expensify Integration
KAYAK for Business now offers seamless integration with Expensify, the world’s leading application for expense management, receipt scanning, and business travel.


KAYAK for Business now offers seamless integration with Expensify, the world’s leading application for expense management, receipt scanning, and business travel.

Gone are the days of collecting all your business travel receipts at the end of the month, painstakingly adding into each purchase what the reason for the trip was and ensuring everything was in policy and you got managerial approval.
KAYAK for Business allows you to book on over 1,700 bookings sites, including airlines, hotel chains, and travel agencies, and will collect your booking and automatically export it to Expensify.
Automate Your Expenses
Book One and Done!
The Expensify integration means that after you book a flight or hotel, we can automatically send that receipt to Expensify. Expensify SmartScan will take the necessary details from the receipt and create an Expense. You will get a notification from Expensify to confirm the process has been completed.
Don’t Look Back!
In KAYAK for Business, you can enter the reason for the trip before you leave to make the booking. The reason you entered here will appear in the “description” field in the Expensify expense. For example, by entering “Meeting with OpenTable in Los Angeles” in KAYAK for Business when you are searching for the flight/hotel, it will automatically appear in the expense after booking.
Make Friends with your Finance Team!
KAYAK for Business will include in your Expensify expense whether you received approval from your manager for the trip before you booked it. This means that Travellers, Managers, and Finance teams can focus instead on dealing with the bookings that were not approved!
Make Even More Friends with your Finance Team!
KAYAK for Business will additionally mark whether the booking was in compliance with your company’s travel policies. This means Travellers, Managers, and Finance teams can focus only on finding out why the booking is out of policy.
Travellers: Automatically have all your expenses sent to Expensify including the reason for your trip, avoiding unnecessary bureaucracy with corporate travel.
Managers: Focus on reviewing only the expenses which were not approved and out of policy, not wasting your time on reviewing compliant bookings.
Finance Teams: By only reviewing bookings made out of policy, you will save a considerable amount of time review expense reports.
CFO: Understand all your team’s flight and hotel expenses in real-time, without the unexpected expense from 3 months ago suddenly being remembered by your employee.
Travel Managers: Allow your team to book on any one of KAYAK’s +1700 booking sites without worrying about your employee not reporting the booking.


KAYAK for Business offers seamless 1-click integration with Expensify. Once a corporate travel admin connects the KAYAK for Business to the company’s Expensify account, any bookings made by employees will automatically be sent to Expensify. Here’s how it works:
1. Admin should go to their “Company Settings” page
2. Click on “Connect to Expensify”
3. KAYAK for Business will now forward bookings made by each employee to their Expensify account
Once the admin has set up their company with Slack, every employee will just need to make one choice. Should their expenses be sent to Expensify automatically or do they want a manual step. Note that KAYAK for Business will only mark a trip as business should the user have made the search in the “business” mode, and otherwise will mark a trip as personal in which case it will not be sent to Expensify. We recommend enabling Automatic mode, because it is less effort to delete an expense in Expensify than forgetting to forward a receipt to Expensify which you have forgotten about.

KAYAK for Business offers seamless 1-click integration with Expensify. Once a corporate travel admin connects the KAYAK for Business to the company’s Expensify account, any bookings made by employees will automatically be sent to Expensify. Here’s how it works:
1. Go to your trips dashboard: https://business.kayak.com/trips
2. Select the trip you have booked
3. Click the “Send to Expensify”
4. Review the Expense by clicking on “View Expenses”
Click on the arrow to see the next steps
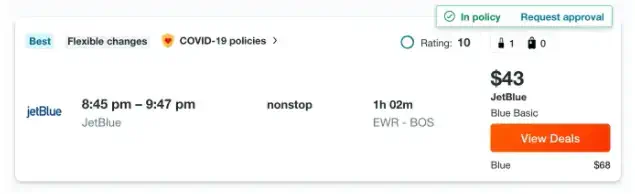
Step 1: Choose your flight/hotel booking option

Step 2: [Optional] Send a request for approval – the reason for the trip will be passed to Expensify

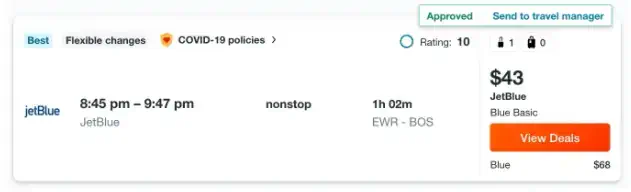
Step 3: [Optional] Approval Granted via Slack – approval status will be sent to Expensify

Step 4: [Optional] Ability to send it to a company travel manager to book on your behalf – otherwise click view deals

Step 5: Click View deal to redirect to the booking site

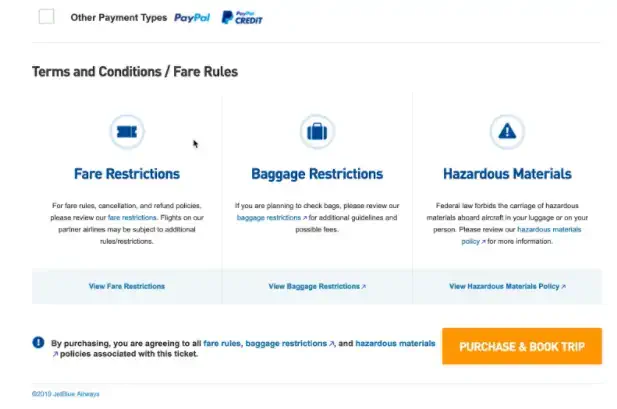
Step 6: Go through the booking steps on the airline/hotel website – don’t forget to pick up your points!

Step 7: Complete the booking using your personal or corporate card

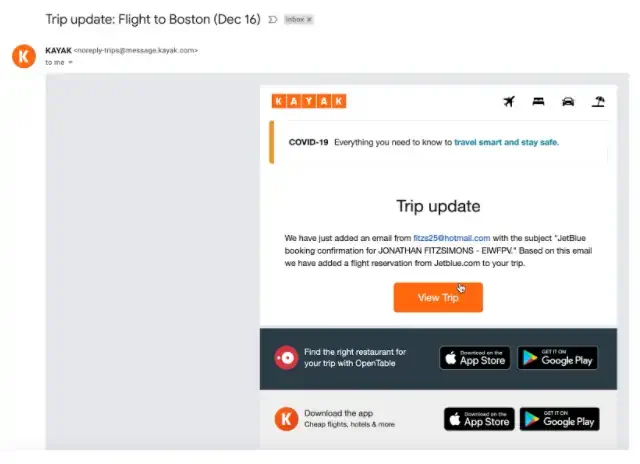
Step 8: KAYAK can automatically collect your booking, otherwise you will need to forward your booking to trips@kayak.com. Once this has been done, you will receive an email confirming we have your booking details

Step 9: When collected, you can see your booking in your “Dashboard” with the status “Booked”

Step 10: You can review the details of the booking and then press “Send to Expensify”

Step 11: K4B will notify you that the booking has been successfully added to Expensify

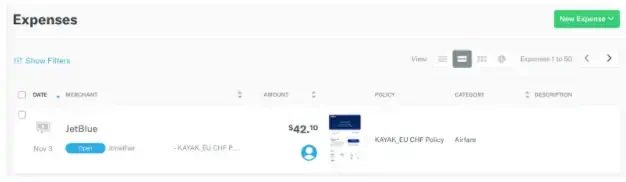
Step 12: Go to your Expensify to review the new expense

Step 13: Ability to edit the Expense should you want to include more details

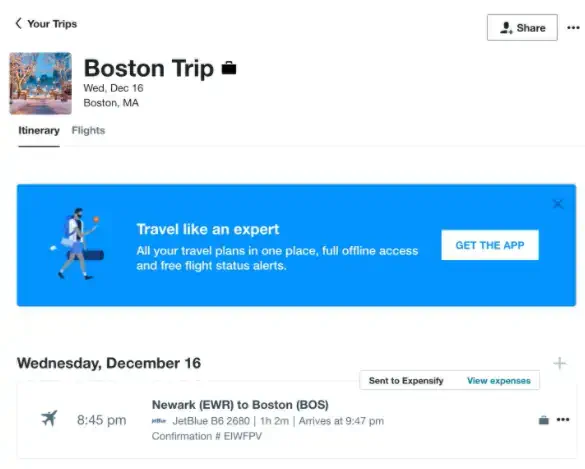
Step 14: Your trip in K4B dashboard will be marked as “Sent to Expensify”

Just in case anything goes wrong, we will send you an email to clarify what happened and alerting you to take further action.

California consumers have the right to opt out of the sale* of their personal information. For more information on how we securely process personal information, please see our Privacy Policy.
Do not sell my info
* The definition of "sale" under the California Consumer Privacy Act is applicable only to California consumers.